

Setting up Ubuntu Desktop on AWS Workspace


I am a fan of the ubuntu-desktop distribution and have been using it since 2009 back in the old days at university. It was much fun to use it as a Windows desktop replacement, although the journey wasn't smooth along the way with lots of different issues such as hardware compatibility on the webcam, sound, keyboard etc.
One thing I love about ubuntu is the community support, where I could always Google an answer for the issue I faced, but at the same time, when I first started, I blindly copy and paste some command in the terminal, then somehow screw up the environment and I had no idea how to revert. End up I have to re-install the ubuntu desktop so many times.
Nowadays, I moved over the ubuntu desktop to an AWS EC2 instance. It works fine with Google Chrome remote desktop setup, and I got the benefit of using any CPU, memory and storage hardware depending on the usage. I could get the sound working, and it's functional, but one thing I wasn't satisfied with is the browser scrolling experience. It always feels a few seconds delayed when using a remote desktop browser, especially when streaming YouTube video.
This morning, I saw an announcement about the availability of Ubuntu Desktop on AWS workspace, I decided to try it out right away. I used AWS workspace before, which is a fully managed Virtual desktop infrastructure (VDI) and the user experience was better on Windows instances using Remote Desktop Protocol (RDP). It is a proprietary protocol developed by Microsoft and I don't want to use it. Meanwhile, the Linux desktop has the PCoIP which feels a bit laggy sometimes and not responsive. Besides, the Amazon Linux2 image with MATE desktop wasn't customized like my usual setup.
Today, I finally got my favourite option, which is Ubuntu Desktop on AWS Workspace, and it can be set up using WorkSpaces Streaming Protocol (WSP), offering a good user experience where I am writing this blog post from.
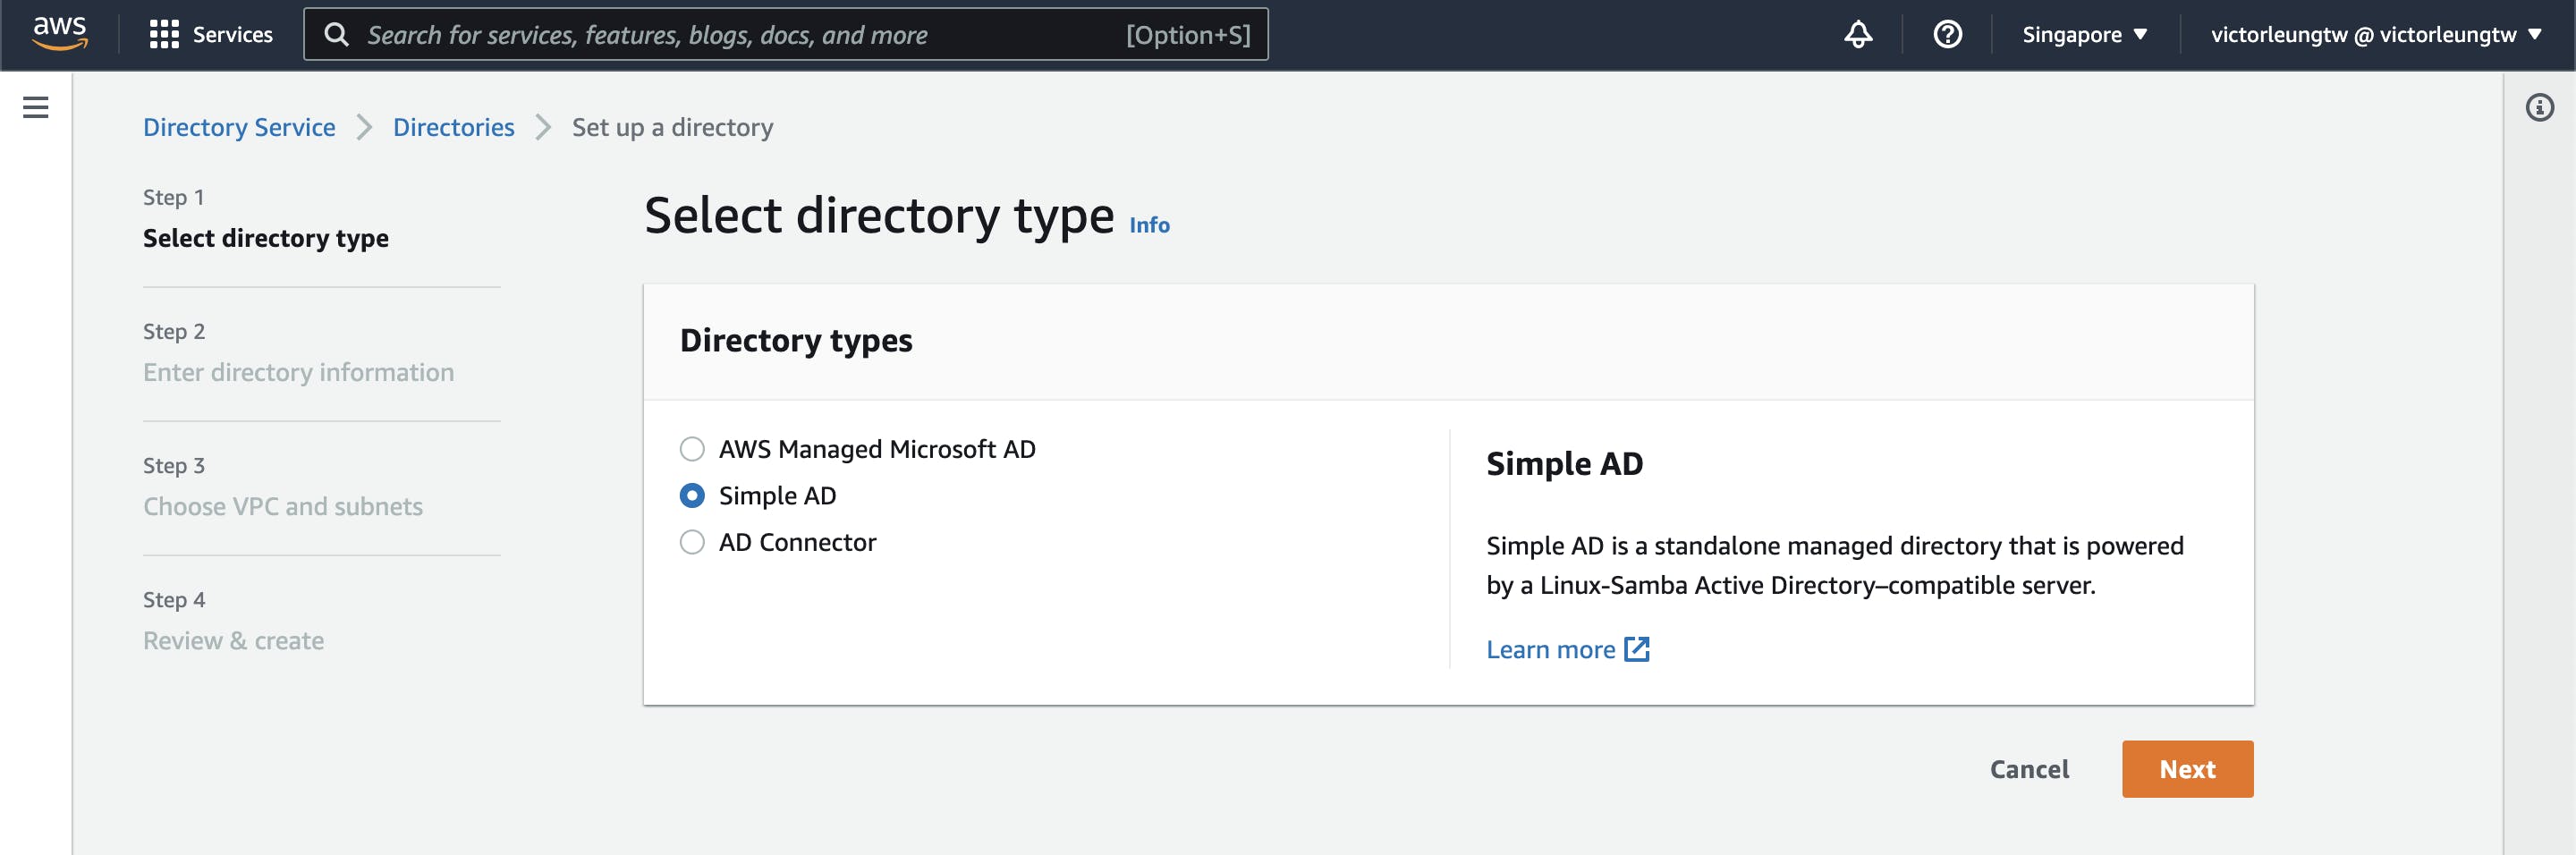
Step 0: Before getting started, you would need to first set up a directory. And you may struggle to decide if you should pick the AWS Managed Microsoft AD or Simple AD. For my use case, I only need an inexpensive Active Directory compatible service instead of a feature-rich service, so I choose Simple AD as shown in the screenshot below:
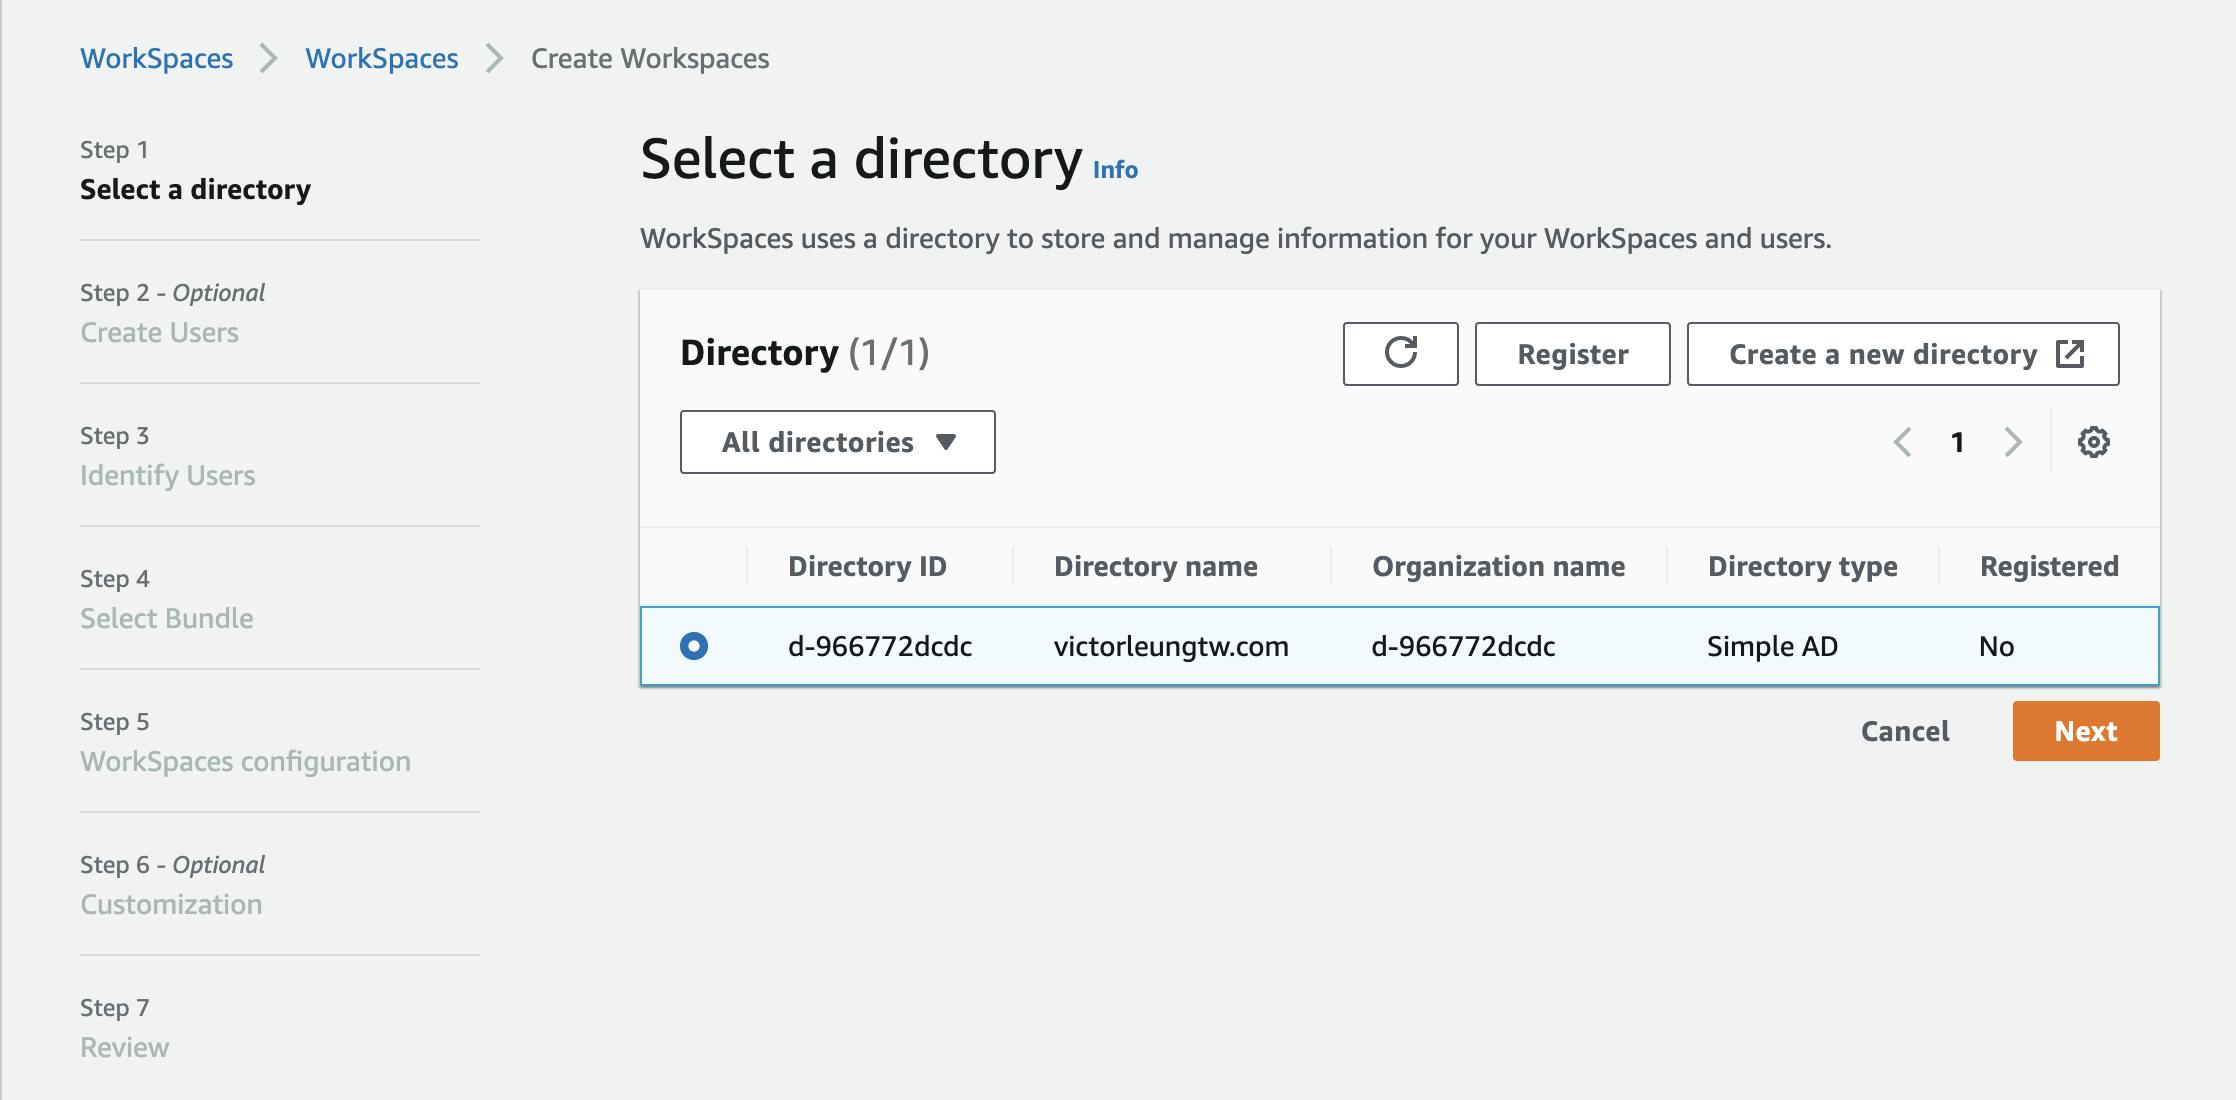
Step 1: Once the directory is set up, you can then select it to create an AWS-managed workspace. It would take some time and also you need to register it.
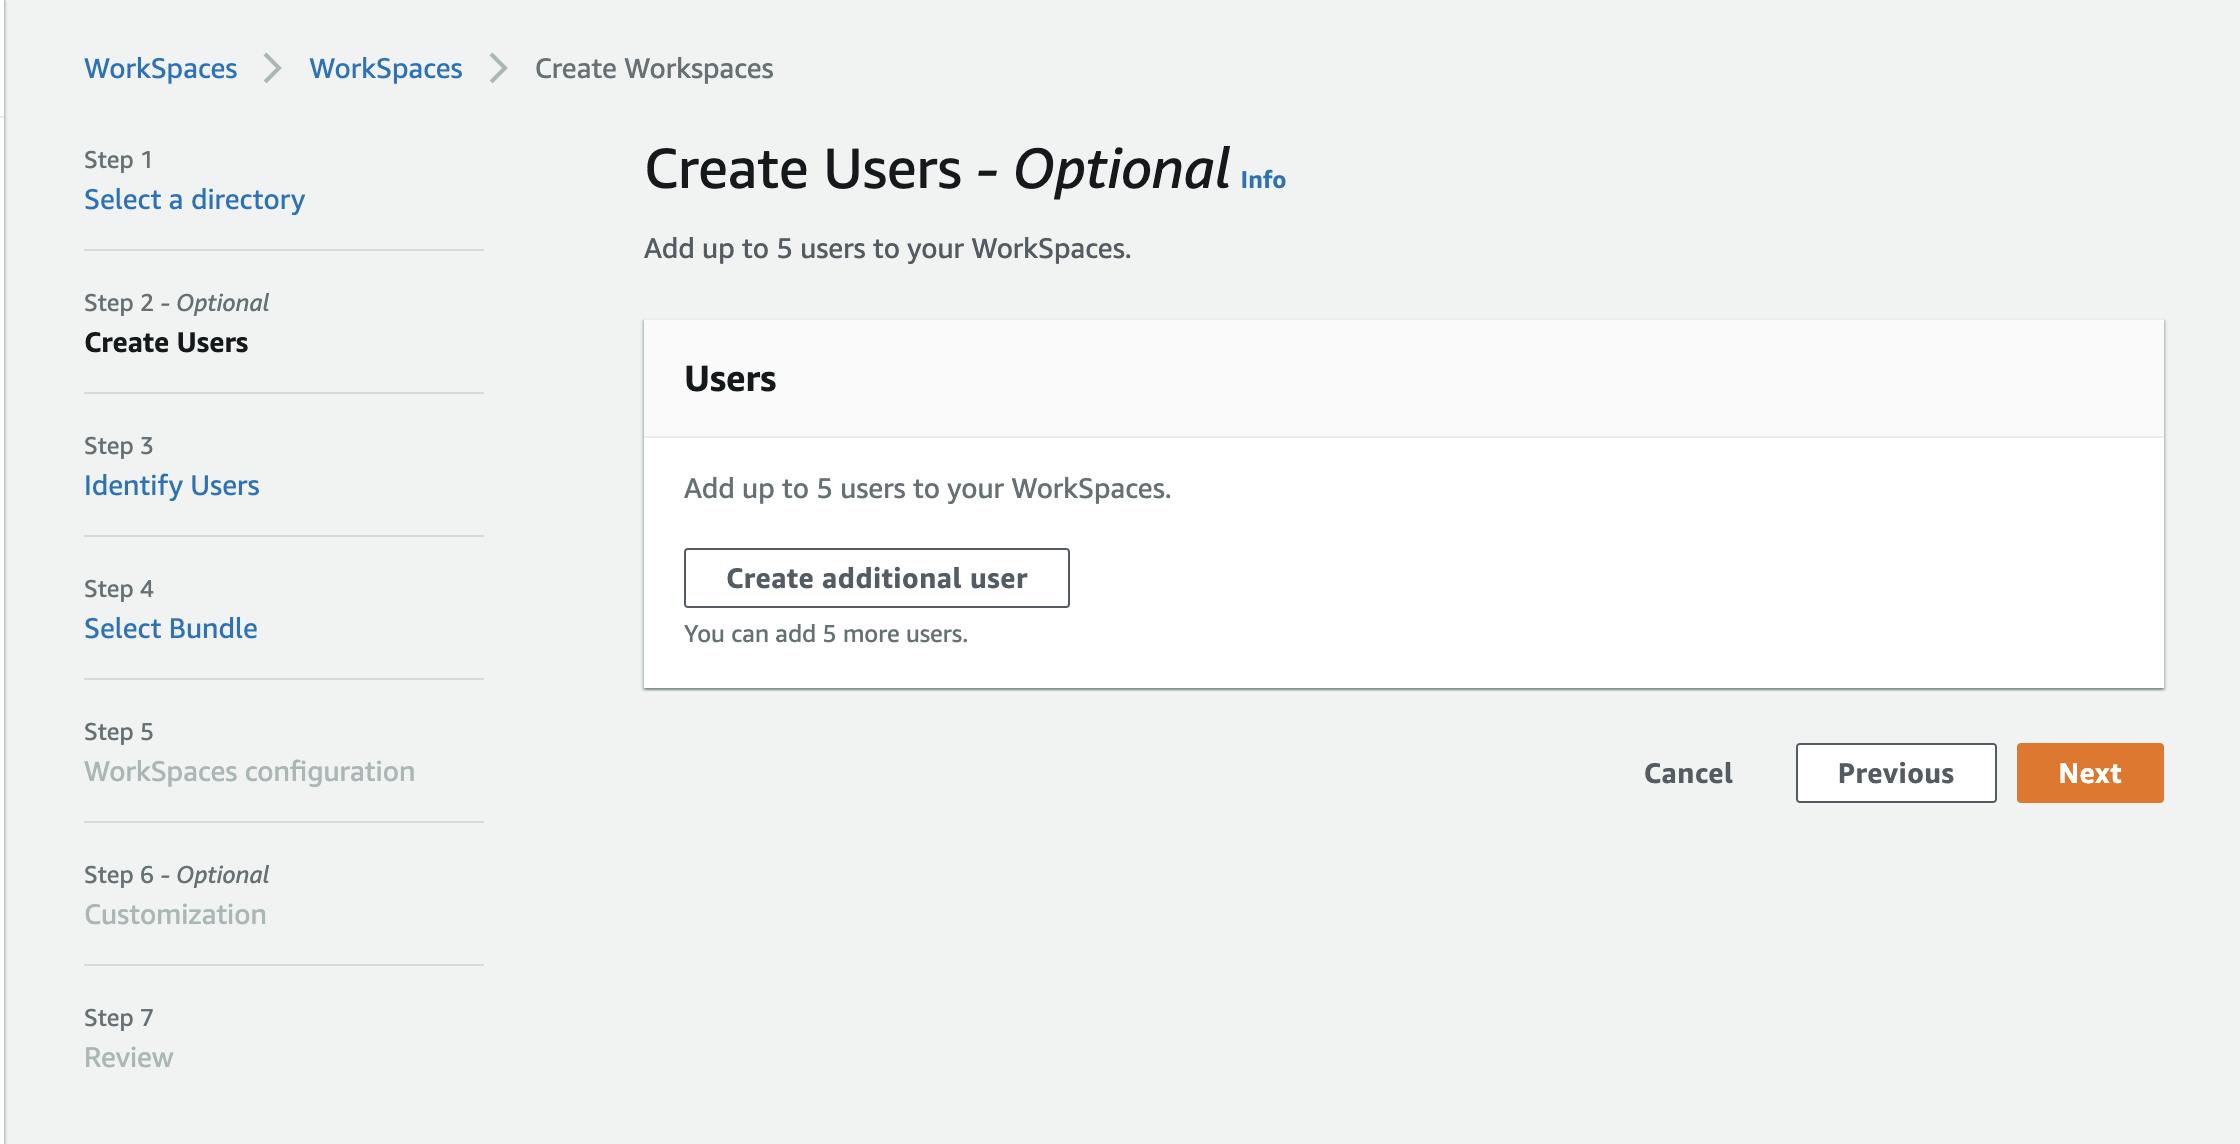
Steps 2 & 3: Continue, create a user and identify the user.
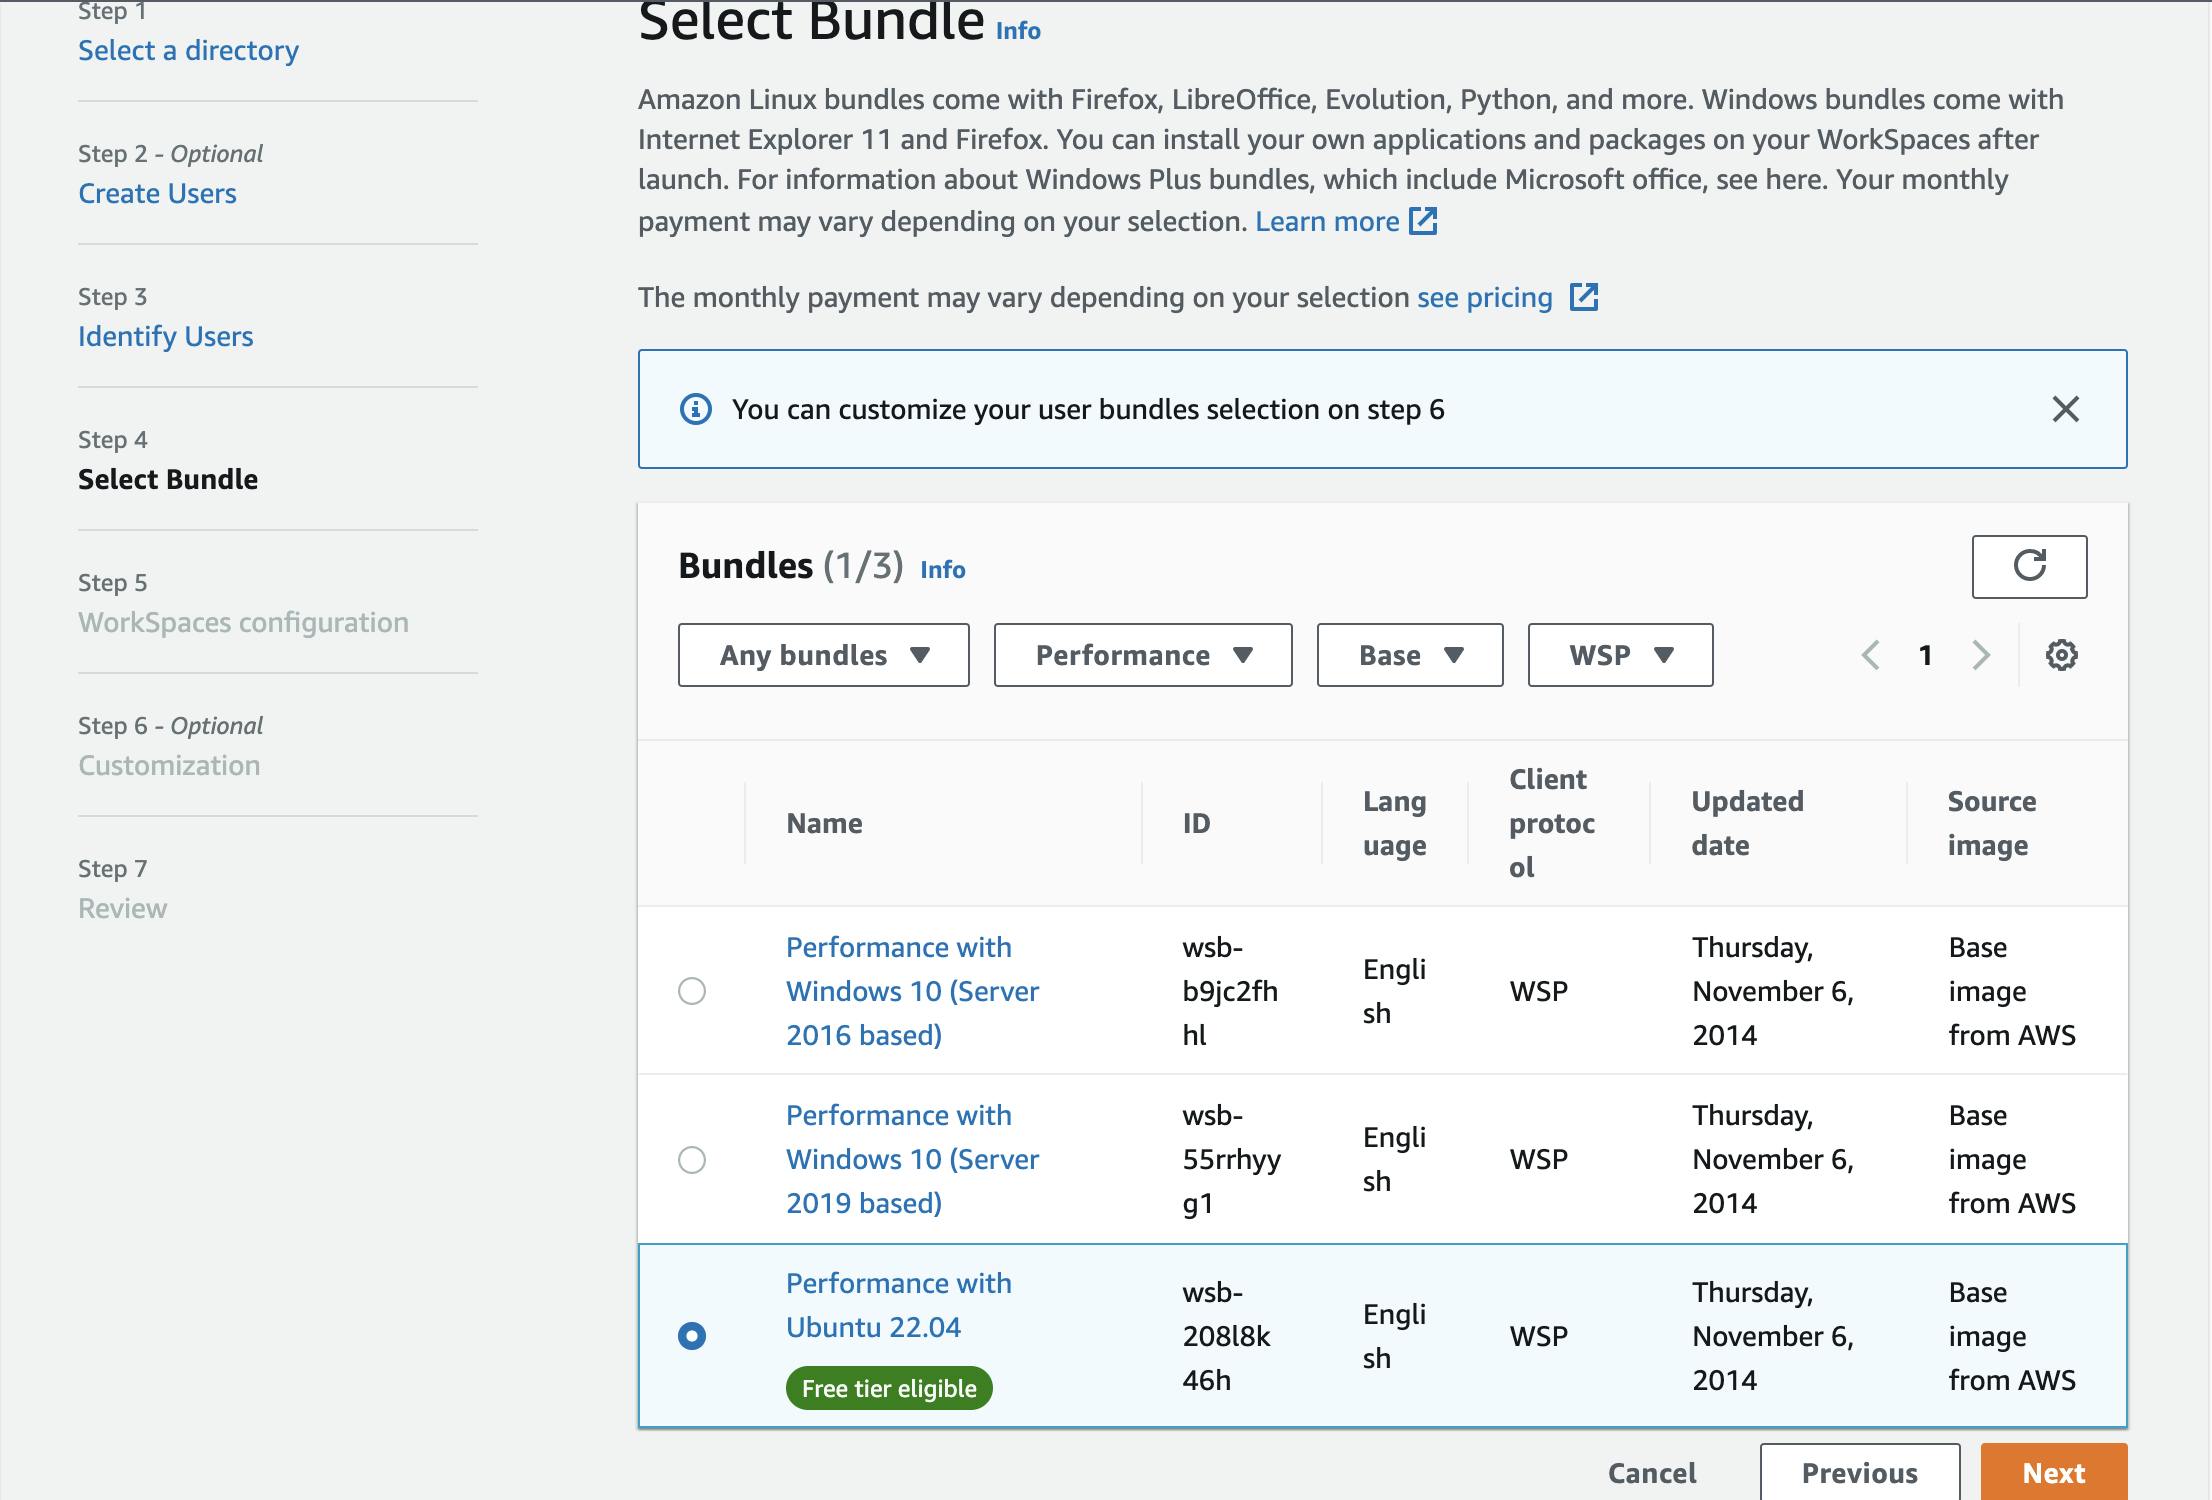
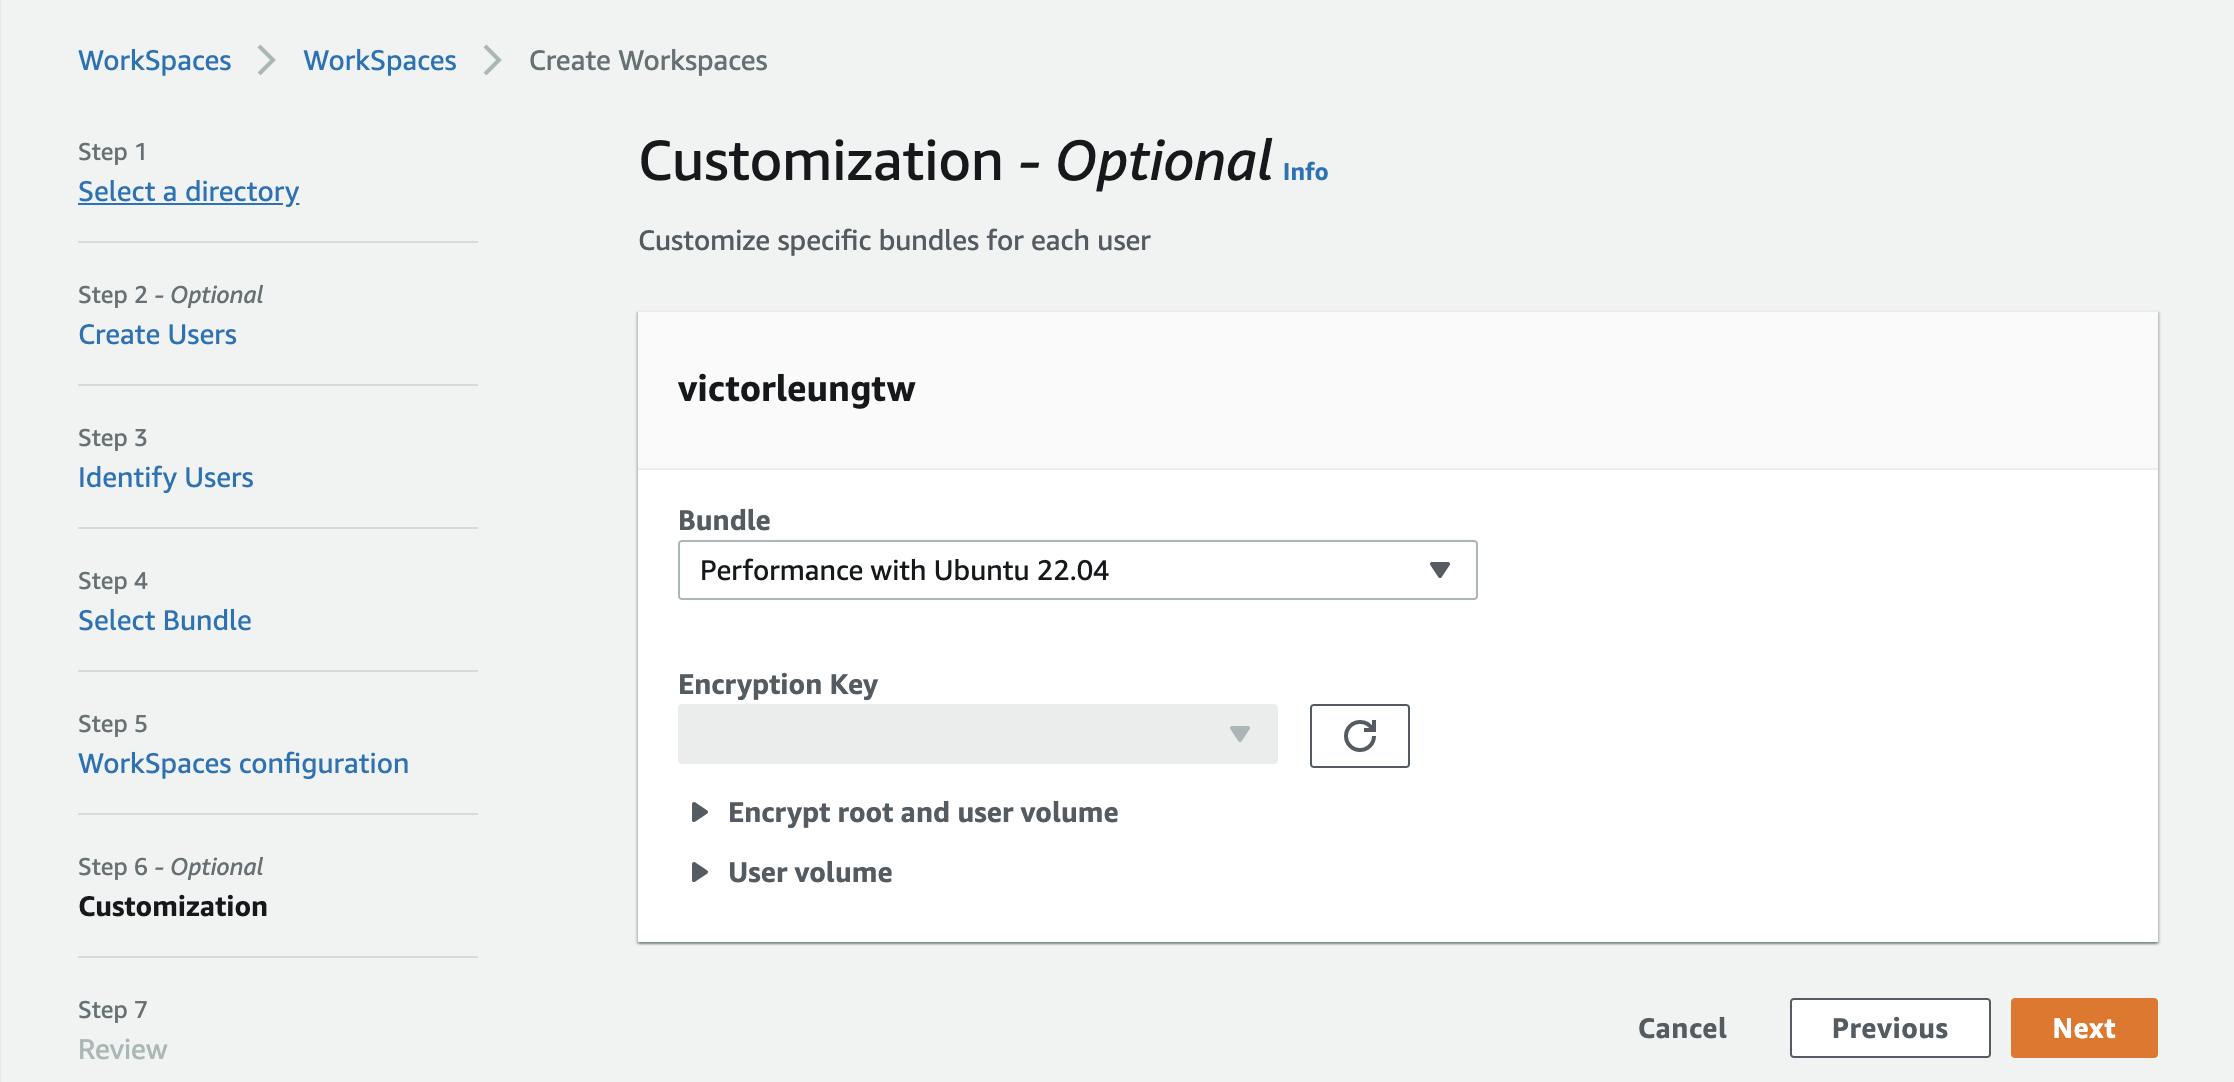
Step 4: Select the Ubuntu Desktop bundle. The UI lacks search and filter functionality, so you may need to click on the last page to find the ubuntu options. For the standard option, it would be 2 vCPU, 4 GB memory; for the performance option, it would be 2 vCPU, 8 GB memory; for the power option, it would be 4 vCPU, 16 GB memory; for the power pro option, it would be 8 vCPU, 32 GB memory. At the moment, I pick the performance option because it has a free tier promotion offer, starting September 29, 2022, through March 31, 2023.
Step 5: Choose whether it is Always On or AutoStop. I choose AutoStop in 1 hour for cost savings.
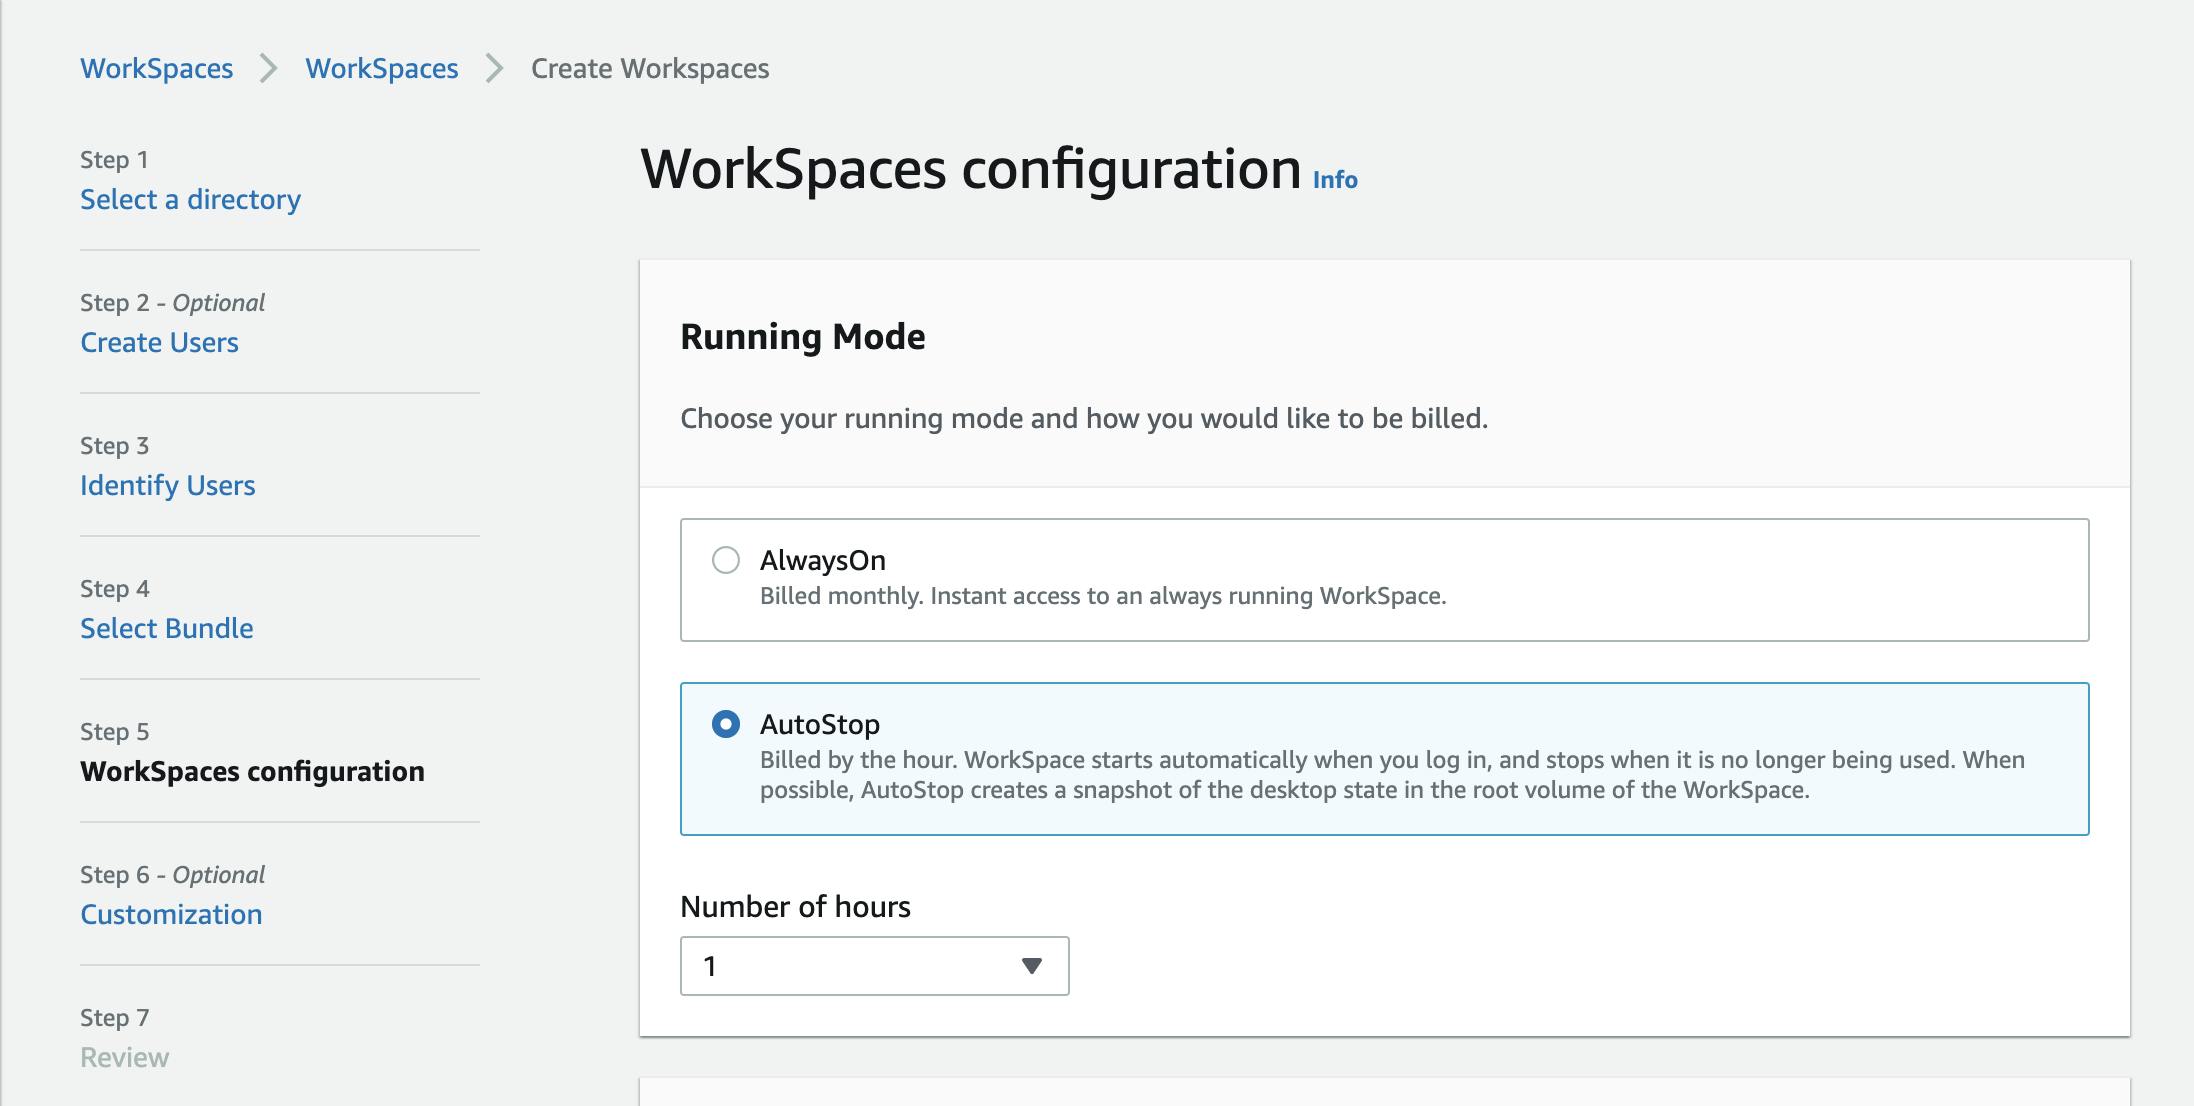
Step 6: Skip the optional encryption for now.
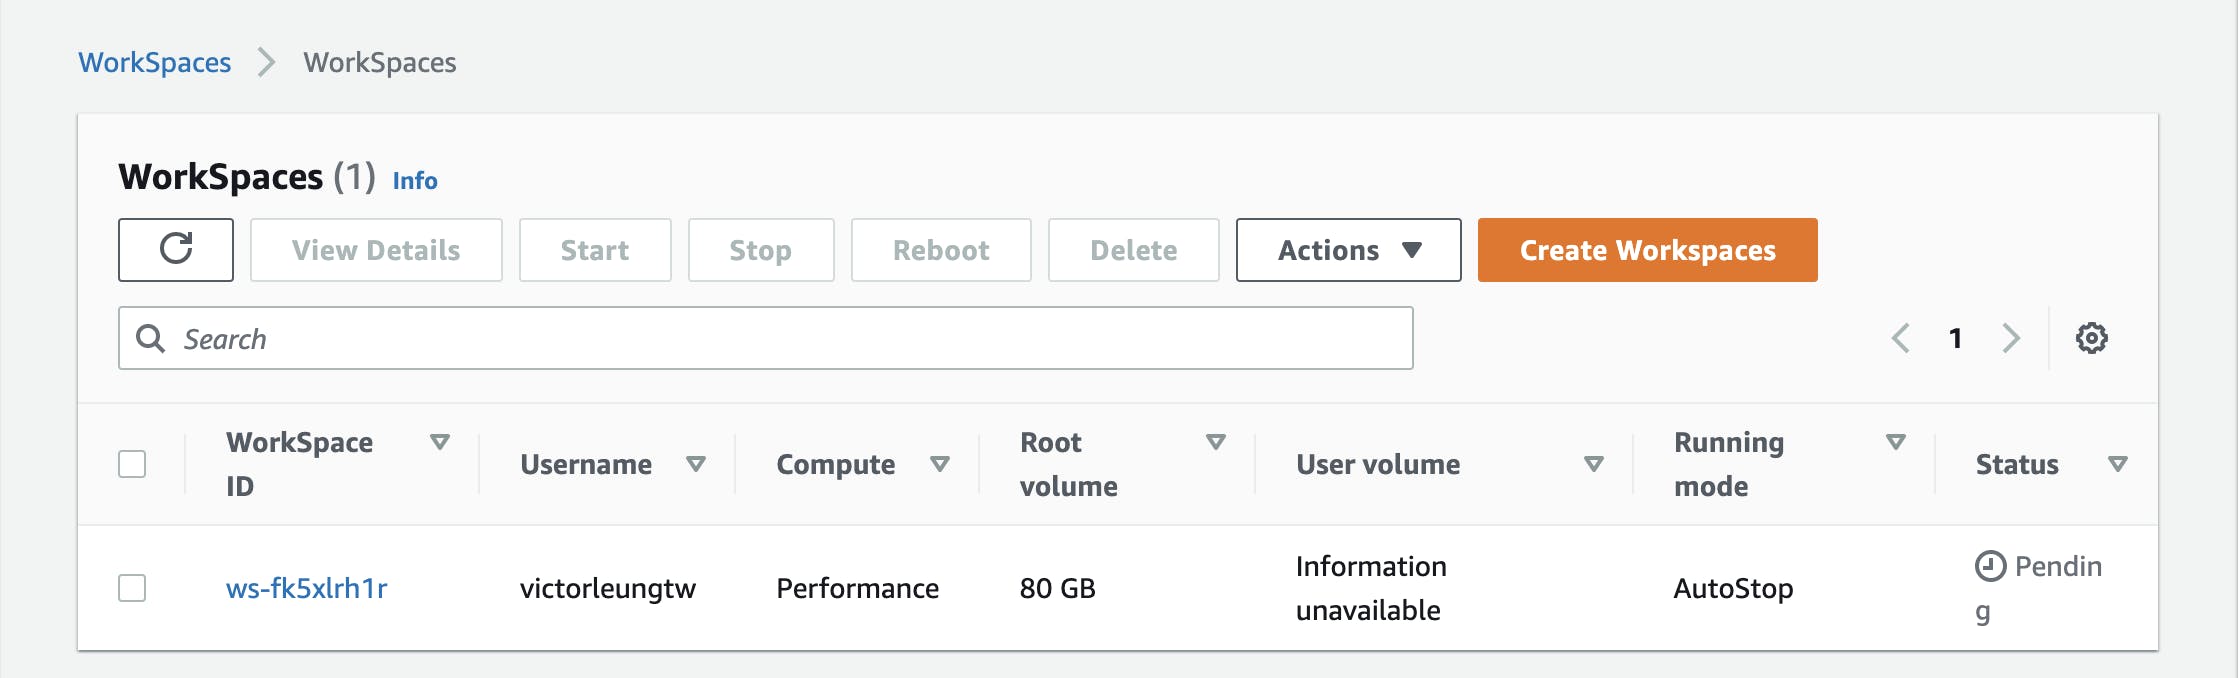
Finally, wait for the status from pending to ready, and you can start connecting using the registration code. You can download the AWS client and install it on your laptop. However, what I really like about this Ubuntu Desktop on AWS Workspace is that I can access it via the web. If you prefer this setup as I do, there is one more step to do:
Open the WorkSpaces console at https://console.aws.amazon.com/workspaces/ and in the navigation pane, choose Directories. Choose your directory, and then choose Actions, Update Details. Expand Access Control Options and find the Other Platforms section. Choose Web Access. Choose Update and Exit.
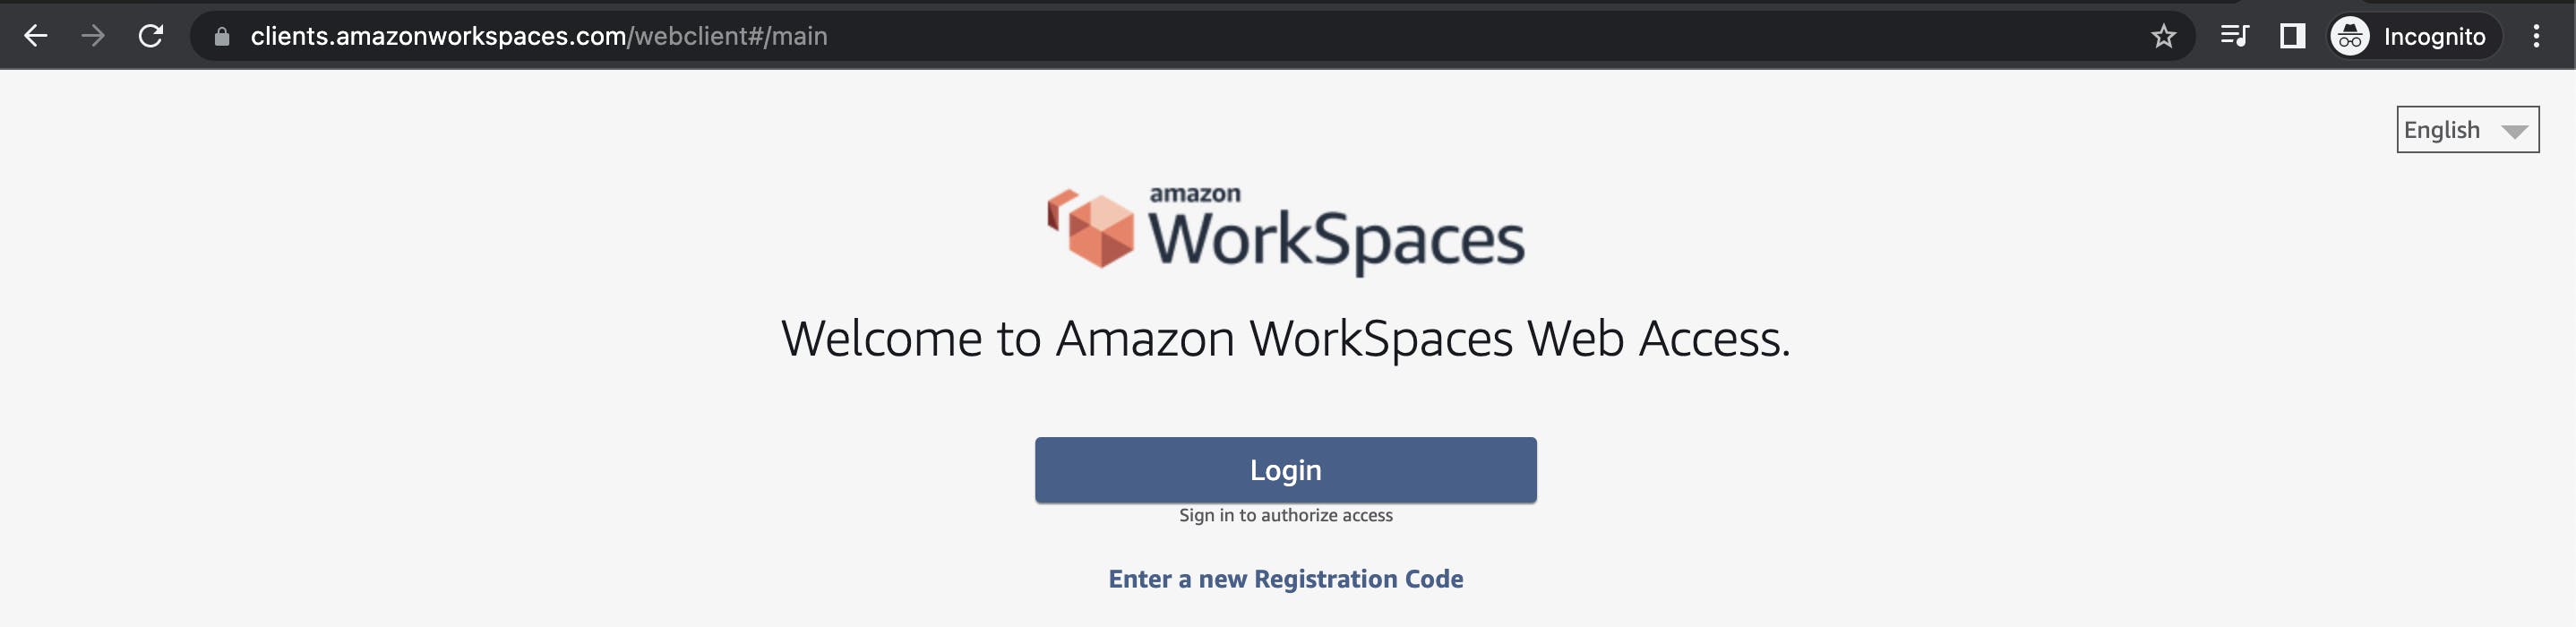
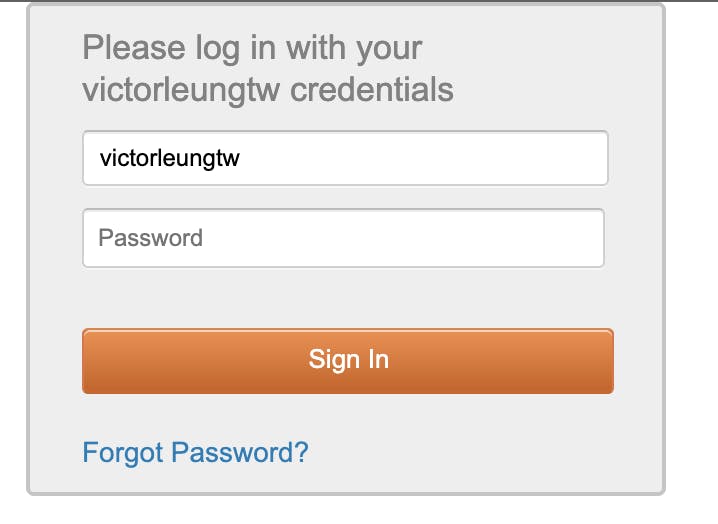
Now you can access the Ubuntu Desktop simply from any browser with webclient https://clients.amazonworkspaces.com/webclient. Input your registration code to continue.
Enter username and password. (By the way, if you forgot your directory password, you can navigate to your AWS console directory to reset it).
And here you go! Successfully login and got a fully functional Ubuntu Desktop in a web browser.
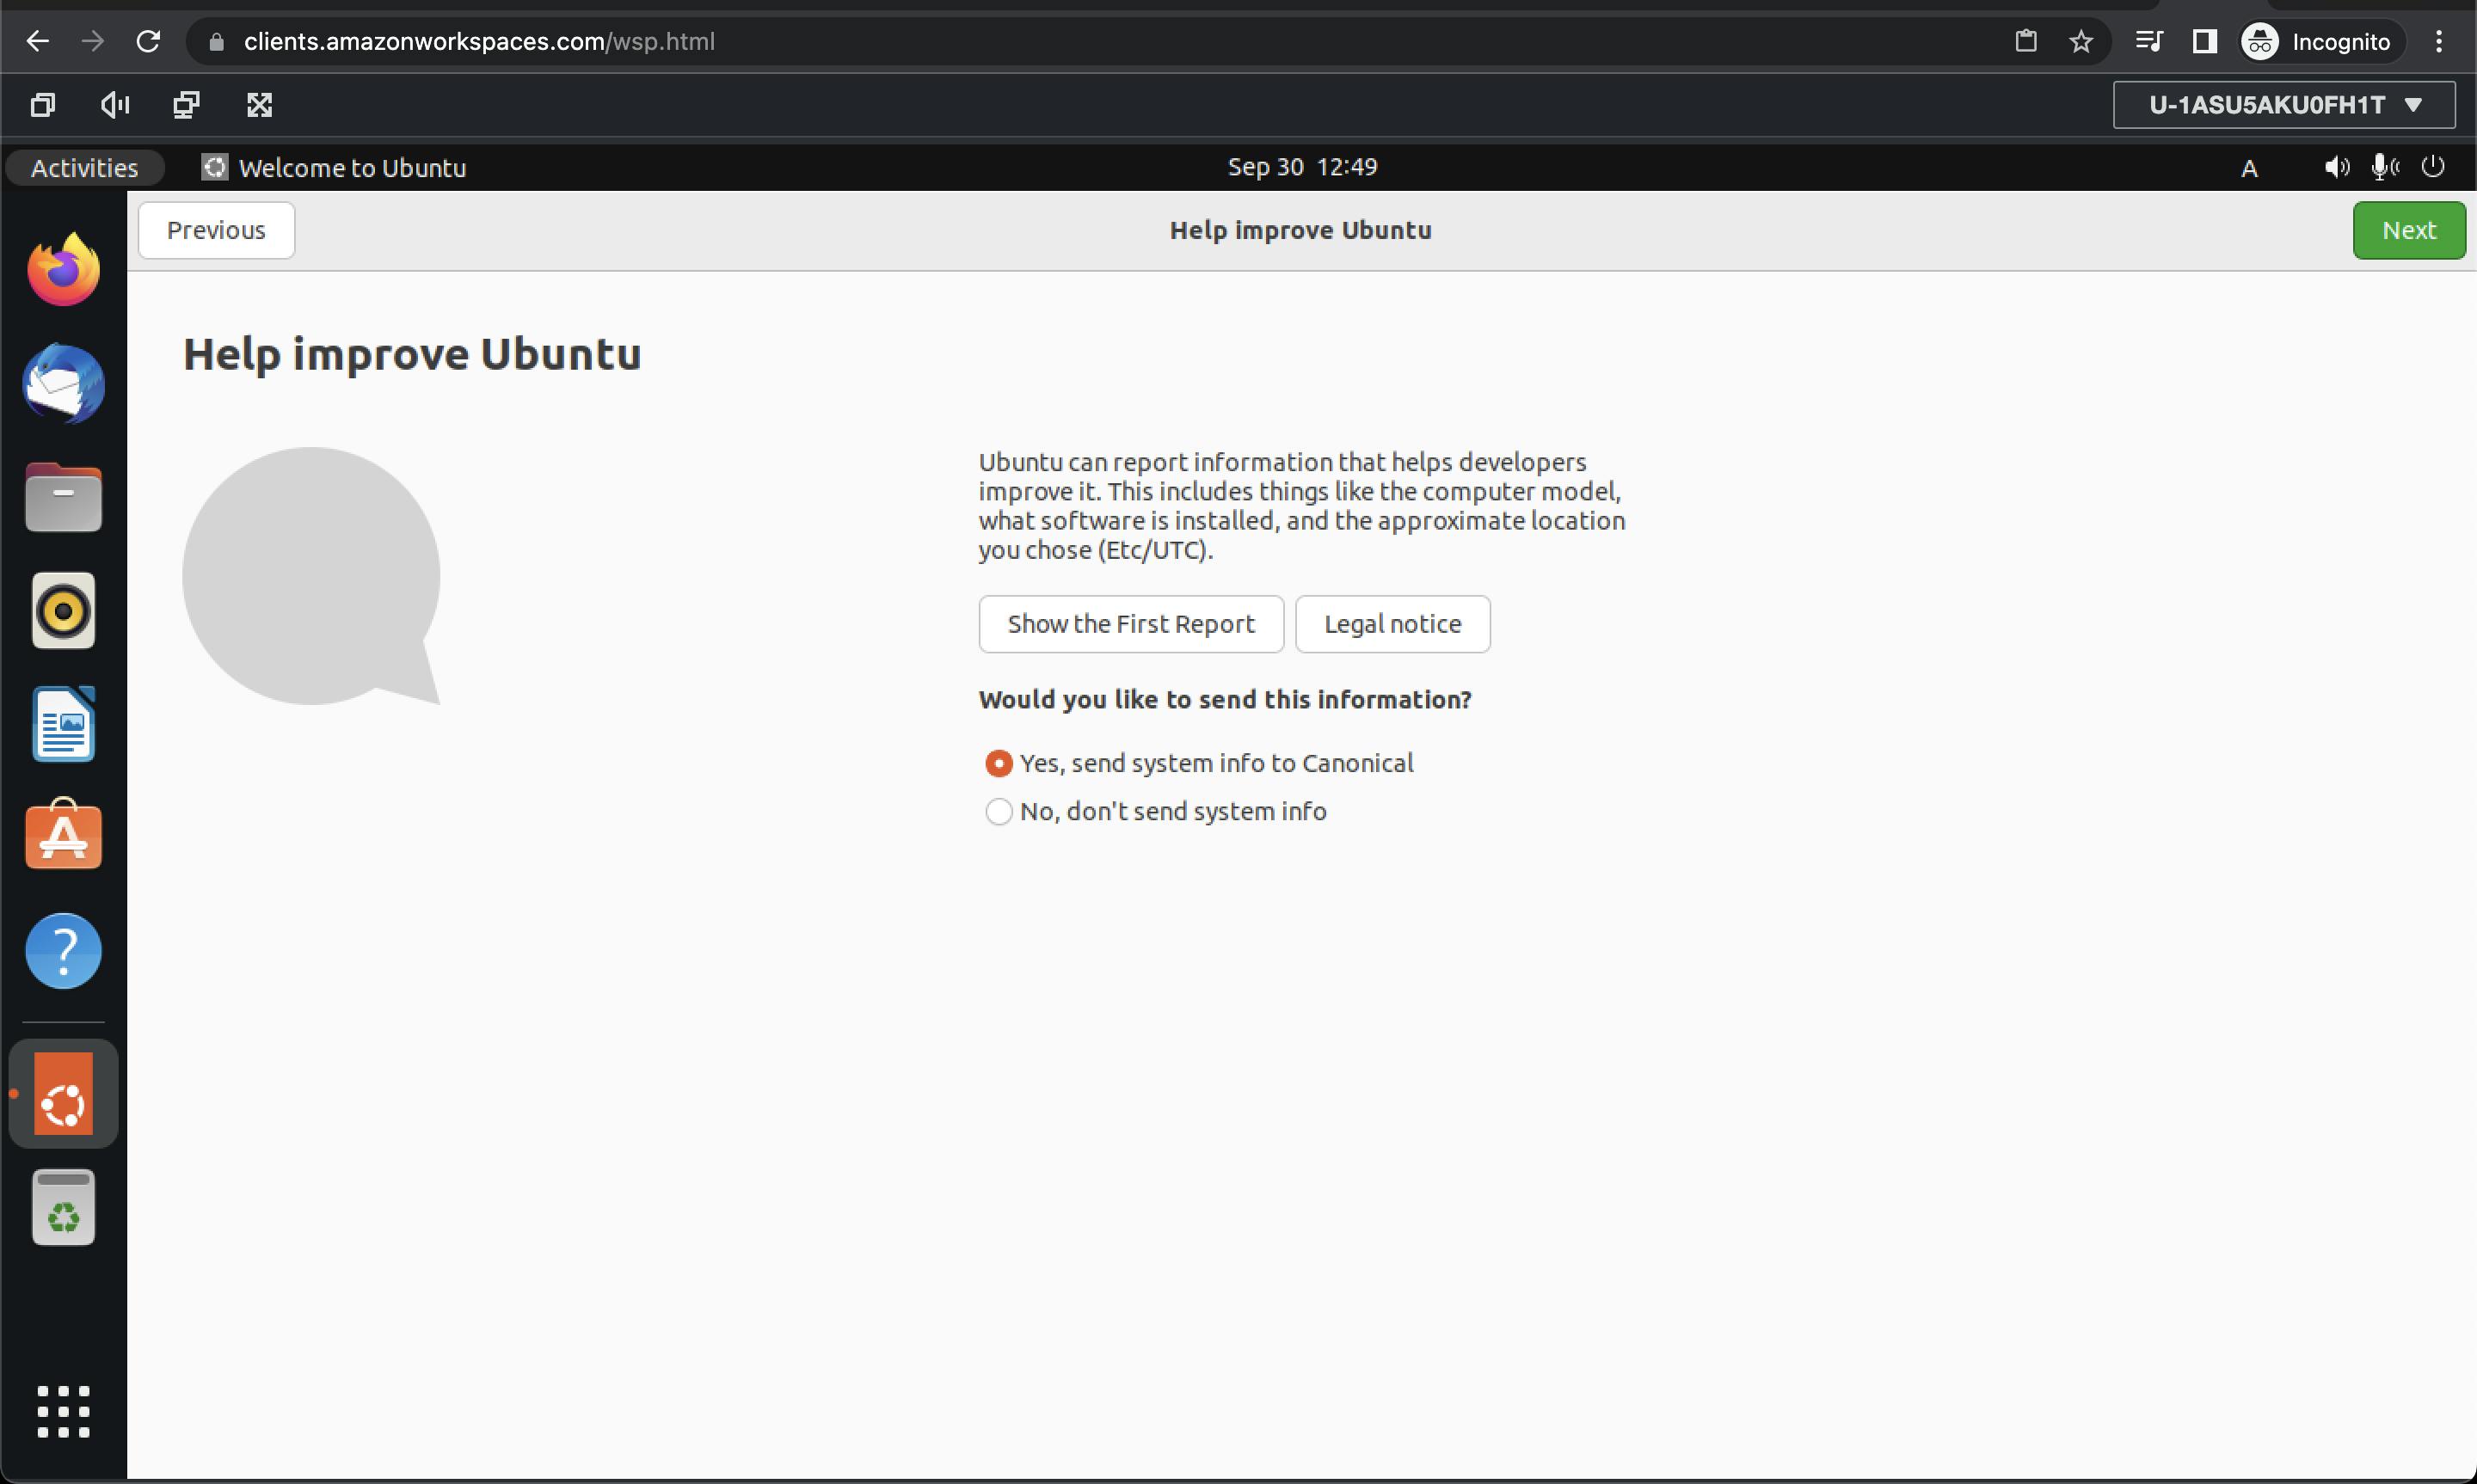
This is very convenient because I can access this from anywhere and continue my work. So far, the performance works well and I am happy with the user experience. Let me know if you got any questions about this setup and I can share more information with the community.